December Stamp Club

in , , , , by Kari Downing Reese, December 27, 2013
This year was a great success!  So many cute projects and friendships were made.  This December 2013 wrapped up another Stamp Club session; thank you to all my clubbies!  We are starting another round in January 2014, who is excited to jump right in?!
 
The December Stamp Club started with some last minute Christmas themed projects; a card and a gift box.  The third project was a birthday card.....see below for that one!
 
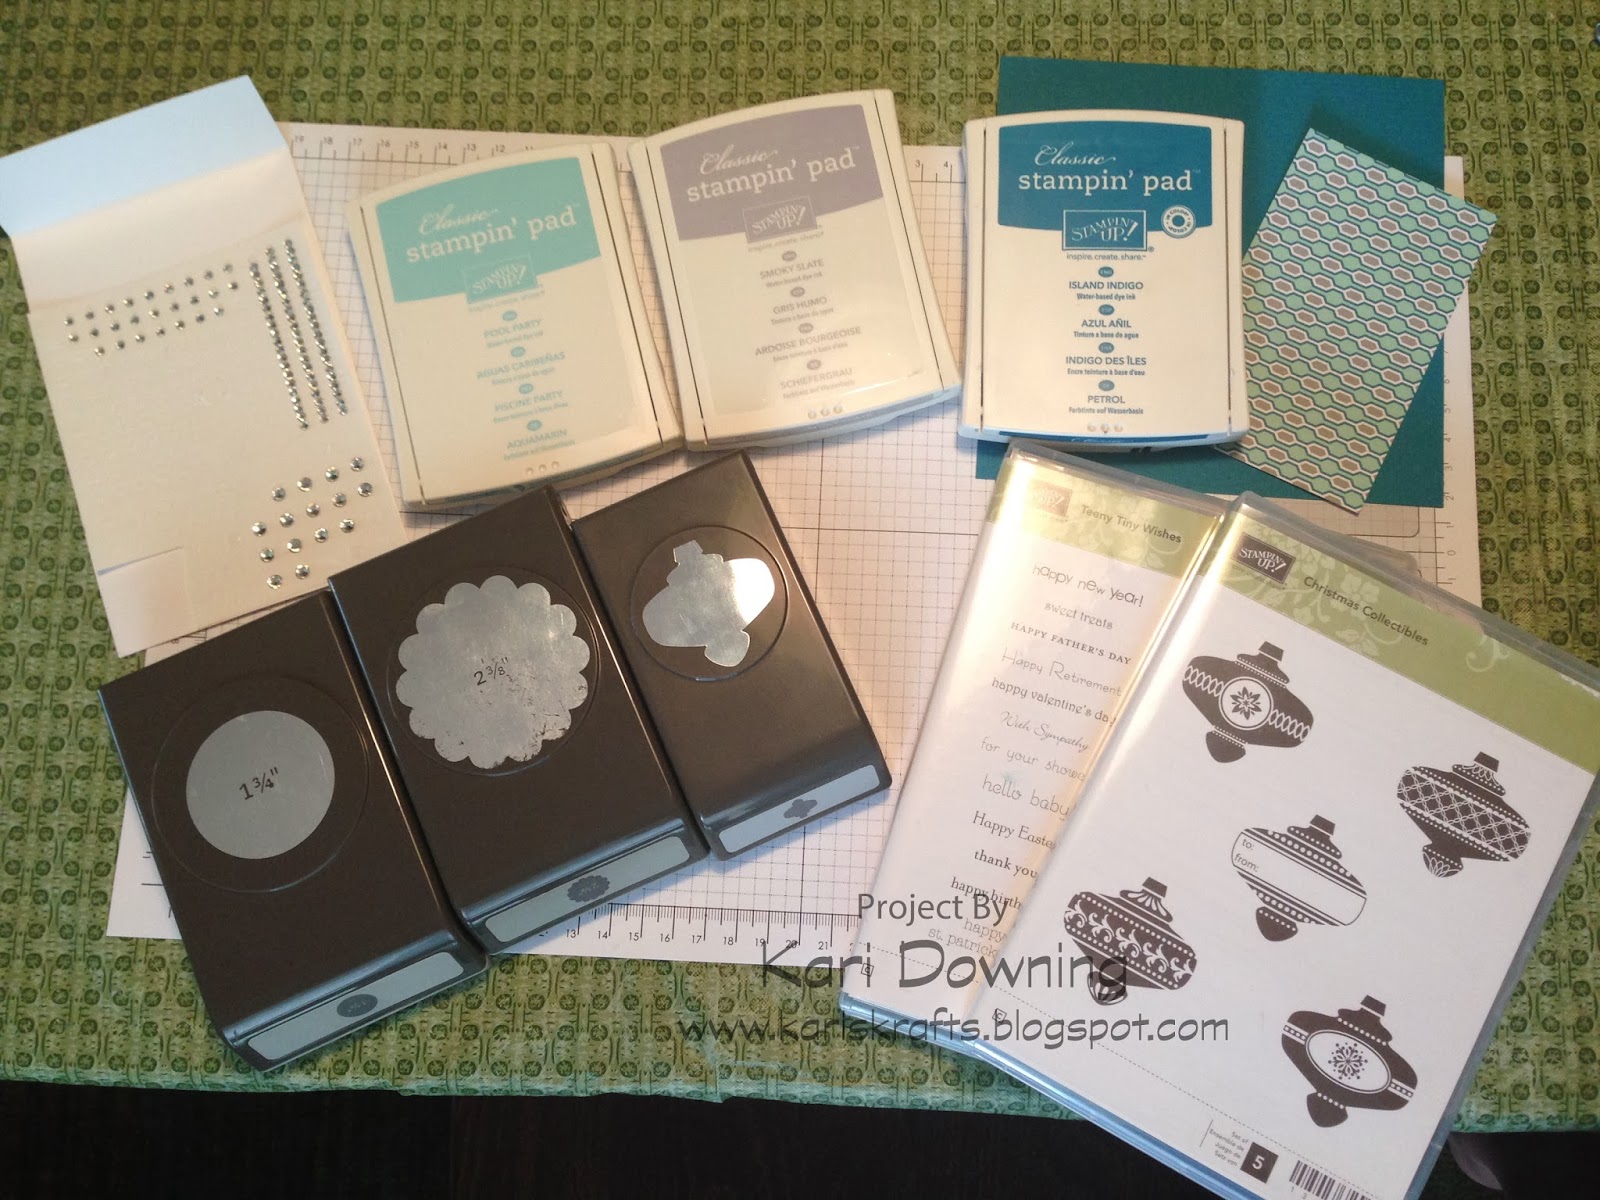
The first card used one of my favorite sets; it can be used all year round, for many occasions.  Also, it is part of Stampin' Up!'s "make a difference" stamp set.  With every purchase of this stamp set, $3 is donated to Ronald McDonald House Charities.  This time we used it for a Merry Christmas card.
 
*Tag it Stamp Set
*Chalk Talk Framelit Dies
*Cherry Cobbler and Gumball Green Markers
*Cherry Cobbler baker's twine
*Crumb Cake and Cherry Cobbler Cardstock
*Season of Style Designer Series Paper Stack

Color the stamp image with both the Cherry Cobbler and Gumball Green markers.  Stamp on Whisper White cardstock then cut out with one of the Chalk Talk Framelit Dies.
The Envelope Punch Board has a great Corner Rounder Punch!  Punch all 4 corners of the Crumb Cake cardstock which measures 4"x2.5"
I used one strip of Cherry Cobbler baker's twine around the top of the Crumb Cake piece; then another piece to go around the shorter side of the Crumb Cake piece and tied a bow.  I wanted it to look like a wrapped gift!  
Voila!  Merry Christmas!

 
The second project is a gift box; perfect for any gift card.  Starbucks, anyone?!
This project was CASE'd from Chicnscratch AKA Angie Kennedy Juda
 
*Tags 4 You stamp set
*Label Bracket and Decorative Label Punches
*Cherry Cobbler ink
*Crumb Cake, Gumball Green, Whisper White cardstock
*Season of Style Designer Series Paper
*Cherry Cobbler 1" Stitched Edge Grosgrain Ribbon
*Sticky Strip

Stamp the image in Cherry Cobbler onto Whisper White cardstock and punch out
Both the Crumb Cake and the Season of Style DSP are cut to 5.5"x4.5"
The Crumb Cake piece is scored at 1" on all four sides
The Season of Style DSP is scored on all four sides at 15/16" or one tick mark less than the 1" mark on the trimmer; this is so the boxes will fit into each other.
 
Then cut all four sides up to the score line; use Sticky Strip to adhere both pieces!  This will ensure the box will be sturdier and not fall apart so easily.
Tie the Cherry Cobbler ribbon around the box
Make your own Gift Card holders; anytime of the year, for any occasion!


The third project is a birthday themed card, but notice I used the Wishing You stamp set from the Holiday Catalog.  This stamp set can be used for Christmas presents but also Birthday presents!
Don't you love the versatility you get from your stamp sets?!
 
*Gorgeous Grunge, Wishing You and Sketched Birthday stamp sets
*Chalk Talk Framelit Dies and Chevron Embossing Folder
*Whisper White CRAFT ink and Bermuda Bay ink
*Bermuda Bay, Crumb Cake and Basic Black cardstock
*Basic Black 3/4" Chevron and 1/8" Taffeta ribbon
 
Stamp the images from the Gorgeous Grunge stamp set with Bermuda Bay ink onto Bermuda Bay cardstock
Use Whisper White CRAFT ink to stamp image, then use a sponge to swipe the white ink over the image (to look like a chalkboard image).  Run the image thru the Big Shot with the Chalk Talk Framelit Die
Crumb Cake cardstock measures 2.25"x4", cut in a banner shape then embossed with the Chevron Embossing Folder
Ink the Happy Birthday image with a Basic Black marker, then cut out using Paper Snips
Add the ribbon thru the slot and assemble!
A great Birthday card for anyone!
 
Happy Stamping!
Kari Downing
 
Shop 24/7 at my online store


November Stamp Club

in , , by Kari Downing Reese, November 17, 2013
I had a lot of fun making these November Stamp Club projects! 
The Envelope Punch Board is so versatile; not only does it make over 66 different styles of envelopes, it also makes treat boxes, cards, etc! Take a look at the treat boxes we made..... 
 
*Envelope Punch Board
  *1" circle and small circle from Itty Bitty Shapes punch pack
 *Old Olive ink and 1/8" Taffeta Old Olive Ribbon
 *Season of Style Designer Series Paper
 *Sticky Strip double sided tape 
To put this box together, start out with a 6x6 sheet of paper or cardstock.  Insert into the Envelope Punch Board, line up to the 2" mark, punch then score.  See the 2 photos below.

Next, take the small circle from the Itty Bitty Shapes punch pack and punch a circle on opposite sides of the paper; cut slits on those sides from the end up to the score line, then use Sticky Strip double-sided tape on the flaps.  

All these boxes need is some chocolate inside and it makes a nice hostess gift, party favor, thank you gift, etc.  
 
The next project is a Christmas themed card that I CASE'd from Julie Davison! 
 
*Christmas Collectibles and Teeny Tiny Wishes stamp sets
  *1 3/8" Circle, 2 3/8" Scallop Circle, Christmas Ornament Punches 
 *Island Indigo, Smokey Slate, Pool Party ink
 *Winter Frost Designer Series Paper
*Island Indigo, Soft Sky cardstock
 *Rhinestone jewels
Take a piece of Soft Sky cardstock measuring 8.5x5.5 and score at 6" and 2.5".  I used my Stampin' Trimmer and the score blade to make the score lines
TIP:  Use your Square Punch to make a banner notch at the end of your paper; like I did below
Ink the ornament stamps and punch out

Now you are ready to assemble the card!  NOTE: You only need adhesive on part of the side of the Winter Frost/Island Indigo piece and you also only need 2 dimensionals on one side of the scallop circle piece, so that your card will close together and still be able to open! 

I love this card; the gate fold style and the colors make this a unique Christmas card
 
The third project is for all the Florida peeps; since we have Sandmen and not Snowmen, this is my Florida themed Christmas card, CASE'd from Debbie Moczek
 
*Snow Day and By The Seashore stamp sets
  *Flower from Itty Bitty Shapes punch pack
 *Crumb Cake, Sahara Sand, Early Espresso ink
*Pumpkin Pie, Basic Black, Real Red markers
 *Gumball Green, Real Red, Crumb Cake cardstock
 *Sticky Strip double sided tape
Take your paper snips and "fringe" her grass skirt
I stamped the image in Sahara Sand
I inked the starfish image in Crumb Cake ink, stamped off on my paper, then stamped on my Crumb Cake cardstock piece, this will give it a more faded, blended in look, then I stamped "Warm Wishes" in Early Espresso ink

When you are ready to "assemble" her, you need the smiley face, the nose, and the arms.  The bikini top is made using the snow cap/hat; just use the marker because all you need is the bottom half of the image; then draw lines of the bikini straps using the marker as well

Tada!!!  Warm Wishes from Florida!!!! 
 
I hope you enjoyed another round of Stamp Club projects!
Please send me an email if you have any questions about the projects or the Stampin' Up! products used in making them.
 
Happy Stamping!
Kari Downing
 
Shop 24/7 at my online store


October Stamp Club

in , by Kari Downing Reese, October 26, 2013
October is underway and now it's time for Thanksgiving and Christmas cards! 
This Thanksgiving card would make a great addition if you are bringing a side dish to someone's home for the Thanksgiving meal or to send to a friend/family member who is not close by!
 
*Magnificent Maple and Tags 4 You stamp sets
  *Decorative Label and Label Bracket punches
 *Summer Starfruit ink and cardstock
 *Sweater Weather Designer Series Paper
 *Soft Sky Seam Binding Ribbon


The next card is SUPER SIMPLE to put together and uses some BLING!!  The colors could be switched out for some Old Olive and Cherry Cobbler if you wanted to go with the red/green theme
 
 *O Holy Night stamp set
*Scallop border punch
*Midnight Muse ink and cardstock
 *Smoky Slate and Soft Sky cardstock
*Silver Glimmer Paper
*Winter Frost DSP stack
*Silver 1/8" Ribbon  


The last project we made in October Stamp Club is my FAVORITE!! 
I saw this idea on a card at 2013 Stampin' Up! Convention!
I love how versatile Stampin' Up! stamps, punches, etc are.  See how I used the Mosaic Madness punch to create a Christmas themed card.
 
*Post Card stamp set
*Mosaic and Itty Bitty Shapes punches
*Petals-a-Plenty Embossing Folder 
*Soft Suede ink
*Cherry Cobbler and Old Olive cardstock
*Silver Glimmer Paper
*Crumb Cake 3/8" Taffeta Ribbon 
Run the Cherry Cobbler cardstock thru the Big Shot with the Petals-a-Plenty Embossing Folder then punch out the shape with the Mosaic punch.  Use the Mosaic punch to punch out the Old Olive.
Sponge around all the edges using Soft Suede ink  
Here is a close up of the Poinsettia flower made using the punches.  The Old Olive pieces are the leaves and the Cherry Cobbler pieces are the flower (arrange with pointed ends touching and alternate the shape for the top layer).  Add the center piece of Silver Glimmer Paper punched with the Itty Bitty Shapes!


Voila!
 
I hope you enjoyed these projects and find some stamping inspiration to start making those Christmas cards!  How many cards are you sending out this holiday season?

To order supplies used to make these projects, shop online 24/7 at http://kari.stampinup.net

Happy Stamping!

Kari

© Kari's Krafts · THEME BY WATDESIGNEXPRESS