I had a lot of fun making these November Stamp Club projects!
The Envelope Punch Board is so versatile; not only does it make over 66 different styles of envelopes, it also makes treat boxes, cards, etc! Take a look at the treat boxes we made.....
*Envelope Punch Board
*1" circle and small circle from Itty Bitty Shapes punch pack
*Old Olive ink and 1/8" Taffeta Old Olive Ribbon
*Season of Style Designer Series Paper
*Sticky Strip double sided tape

To put this box together, start out with a 6x6 sheet of paper or cardstock. Insert into the Envelope Punch Board, line up to the 2" mark, punch then score. See the 2 photos below.


Next, take the small circle from the Itty Bitty Shapes punch pack and punch a circle on opposite sides of the paper; cut slits on those sides from the end up to the score line, then use Sticky Strip double-sided tape on the flaps.


All these boxes need is some chocolate inside and it makes a nice hostess gift, party favor, thank you gift, etc.

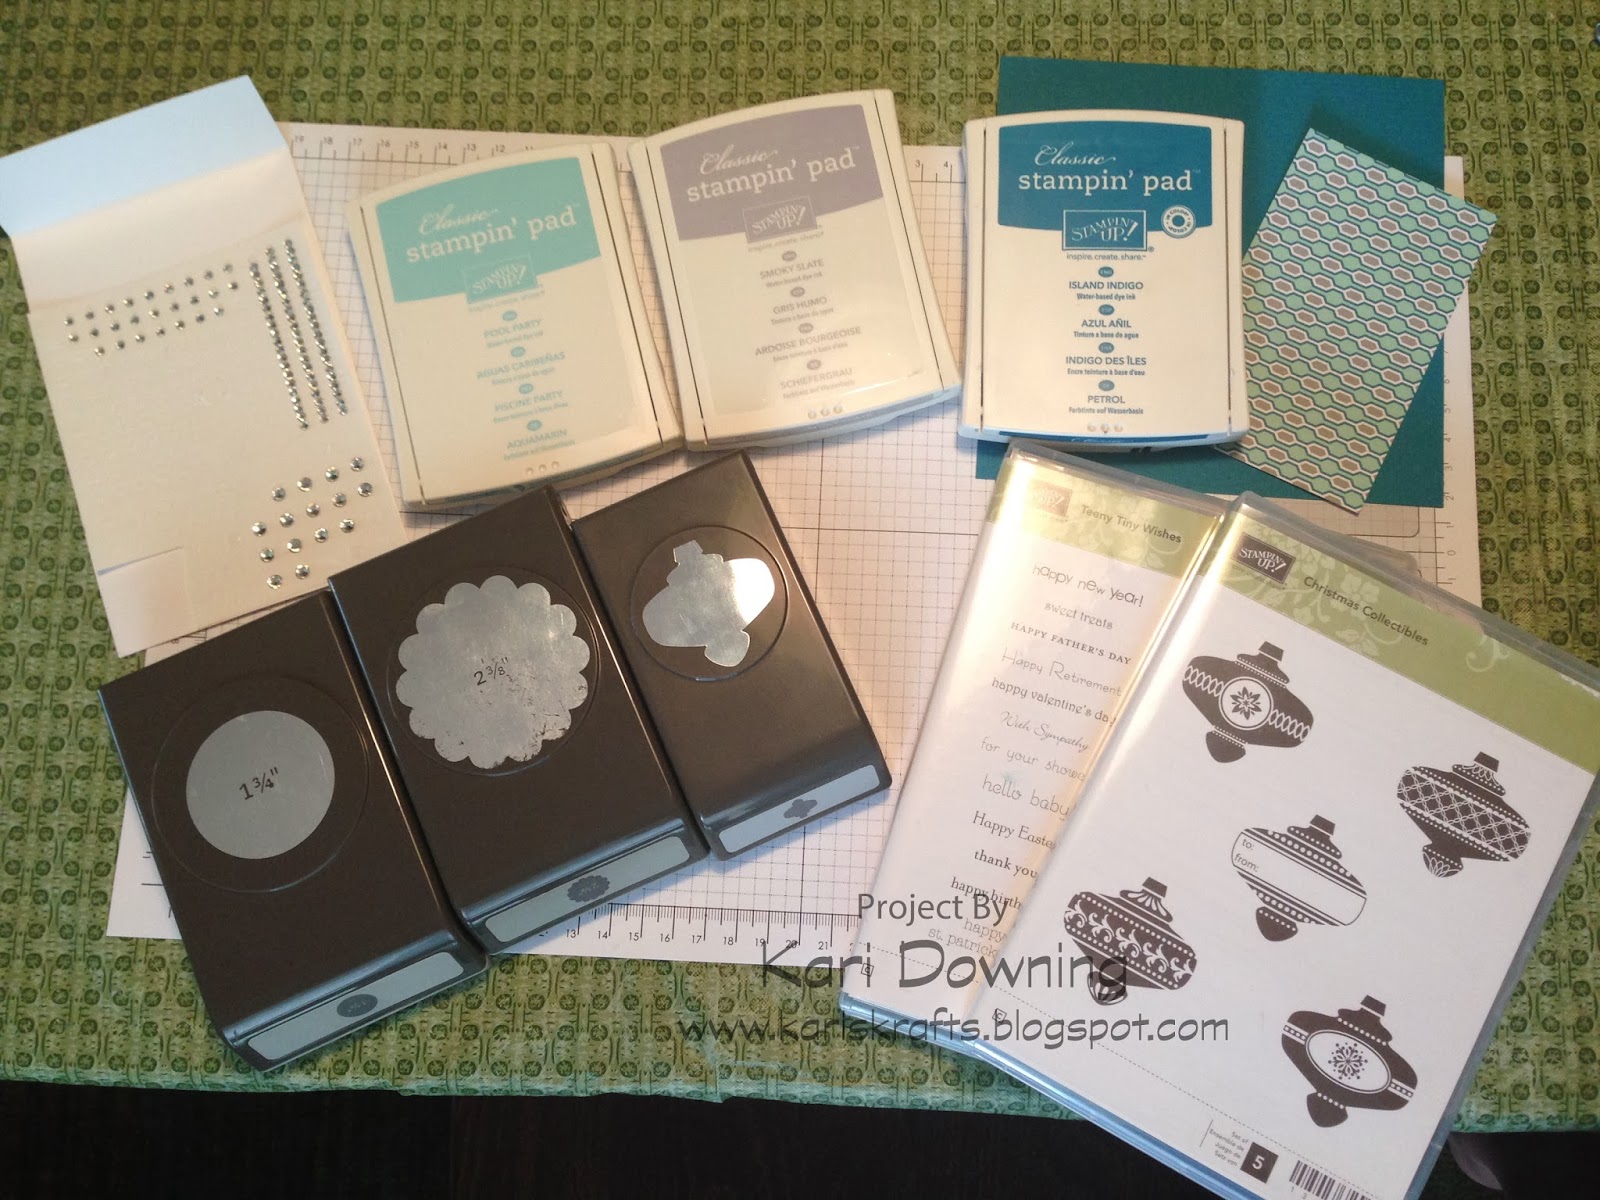
The next project is a Christmas themed card that I CASE'd from Julie Davison!
*Christmas Collectibles and Teeny Tiny Wishes stamp sets
*1 3/8" Circle, 2 3/8" Scallop Circle, Christmas Ornament Punches
*Island Indigo, Smokey Slate, Pool Party ink
*Winter Frost Designer Series Paper
*Island Indigo, Soft Sky cardstock
*Rhinestone jewels
Take a piece of Soft Sky cardstock measuring 8.5x5.5 and score at 6" and 2.5". I used my Stampin' Trimmer and the score blade to make the score lines

TIP: Use your Square Punch to make a banner notch at the end of your paper; like I did below

Ink the ornament stamps and punch out


Now you are ready to assemble the card! NOTE: You only need adhesive on part of the side of the Winter Frost/Island Indigo piece and you also only need 2 dimensionals on one side of the scallop circle piece, so that your card will close together and still be able to open!


I love this card; the gate fold style and the colors make this a unique Christmas card

The third project is for all the Florida peeps; since we have Sandmen and not Snowmen, this is my Florida themed Christmas card, CASE'd from Debbie Moczek
*Snow Day and By The Seashore stamp sets
*Flower from Itty Bitty Shapes punch pack
*Crumb Cake, Sahara Sand, Early Espresso ink
*Pumpkin Pie, Basic Black, Real Red markers
*Gumball Green, Real Red, Crumb Cake cardstock
*Sticky Strip double sided tape

Take your paper snips and "fringe" her grass skirt

I stamped the image in Sahara Sand

I inked the starfish image in Crumb Cake ink, stamped off on my paper, then stamped on my Crumb Cake cardstock piece, this will give it a more faded, blended in look, then I stamped "Warm Wishes" in Early Espresso ink


When you are ready to "assemble" her, you need the smiley face, the nose, and the arms. The bikini top is made using the snow cap/hat; just use the marker because all you need is the bottom half of the image; then draw lines of the bikini straps using the marker as well


Tada!!! Warm Wishes from Florida!!!!

I hope you enjoyed another round of Stamp Club projects!
Please send me an email if you have any questions about the projects or the Stampin' Up! products used in making them.
Happy Stamping!
Kari Downing
Shop 24/7 at my online store


Add your comment
Thank you for leaving a comment; you are appreciated!